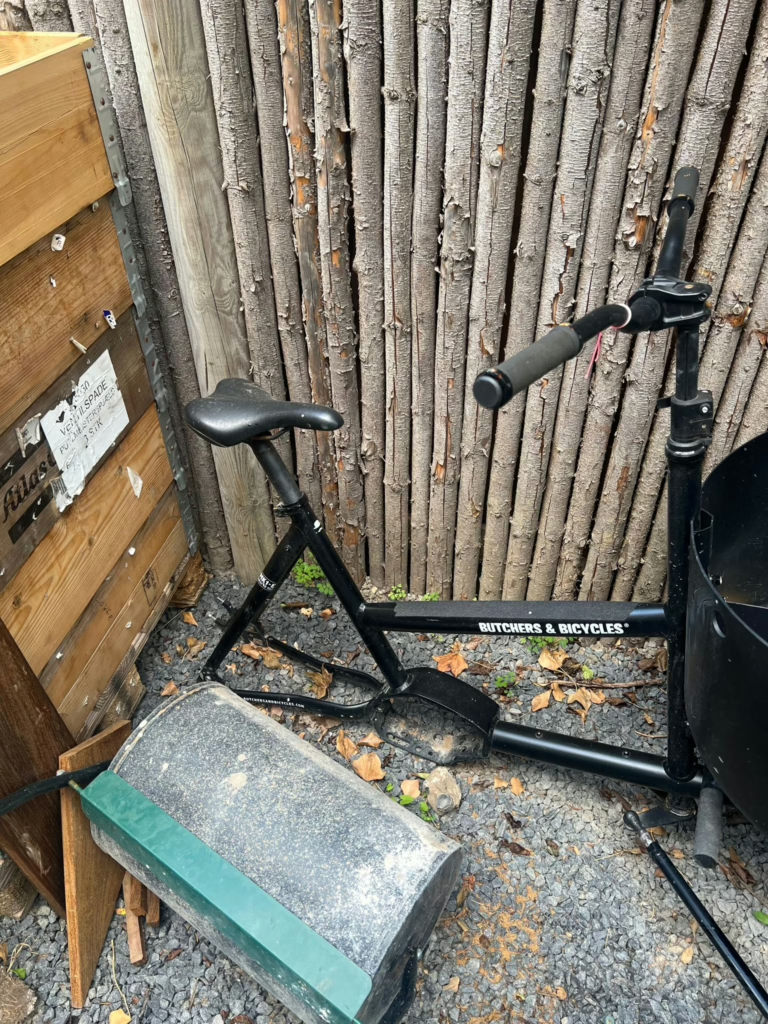
I had the opportunity to buy a B&B MK1-e gen 2 frame at a very low price from an insurance company and I just couldn’t pass it up. My goal was to build the ultimate MK1-e Gen 2 using only off-the-shelf parts. I got the frame, a broken box and the front wheels (completely untrue). There was no motor, no electronics, no rear wheel or gears left on the bike. I started the project with limited knowledge about the Bosch eBike system and planned on setting the bike up with dual battery and enviolo Automatiq (eshift). A relatively big part of the project was also about learning how the bosch ebike system works and how much DIY can be done to it. Spoiler alert: I was pleasently surprised!
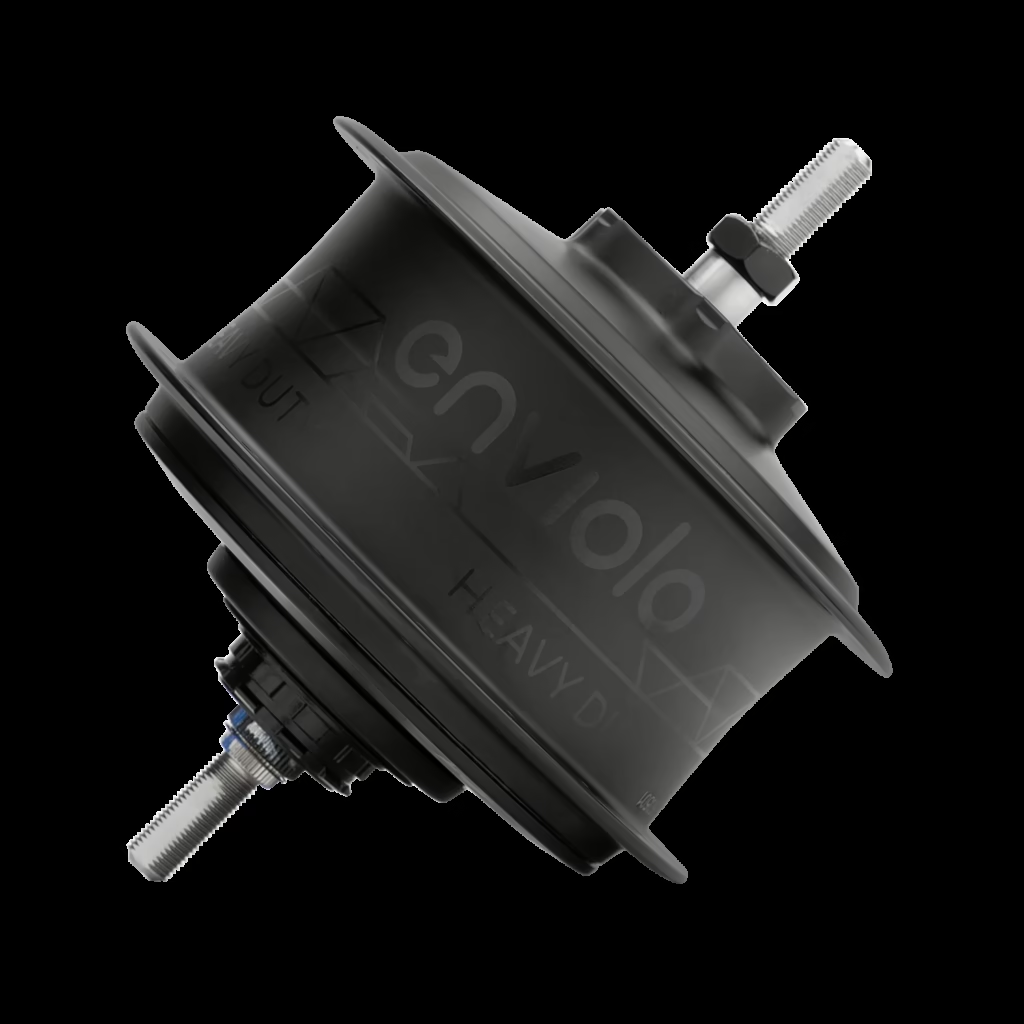
Now that I had the frame, I had to start looking for parts to mount on it. I started with what i knew: the rear wheel with a geared hub and the rear brake. I decided to use Enviolo on it like the original as I didn’t have budget for the “fancy gear hubs” like Rohloff, 3X3 or Kindernay. The enviolo heavy duty hub that i chose is made for 100 Nm motor torque for up to 160kg total vehicle wheight and 90Nm for up to 200kg. Considering this frame is made for a bosch gen 2 bosch cx motor with 75nm (confusing name that I will come back to), I concluded that the hub is strong enough. I then ordered the Automatiq infterface with its magnet rings for cadence and speed sensing.
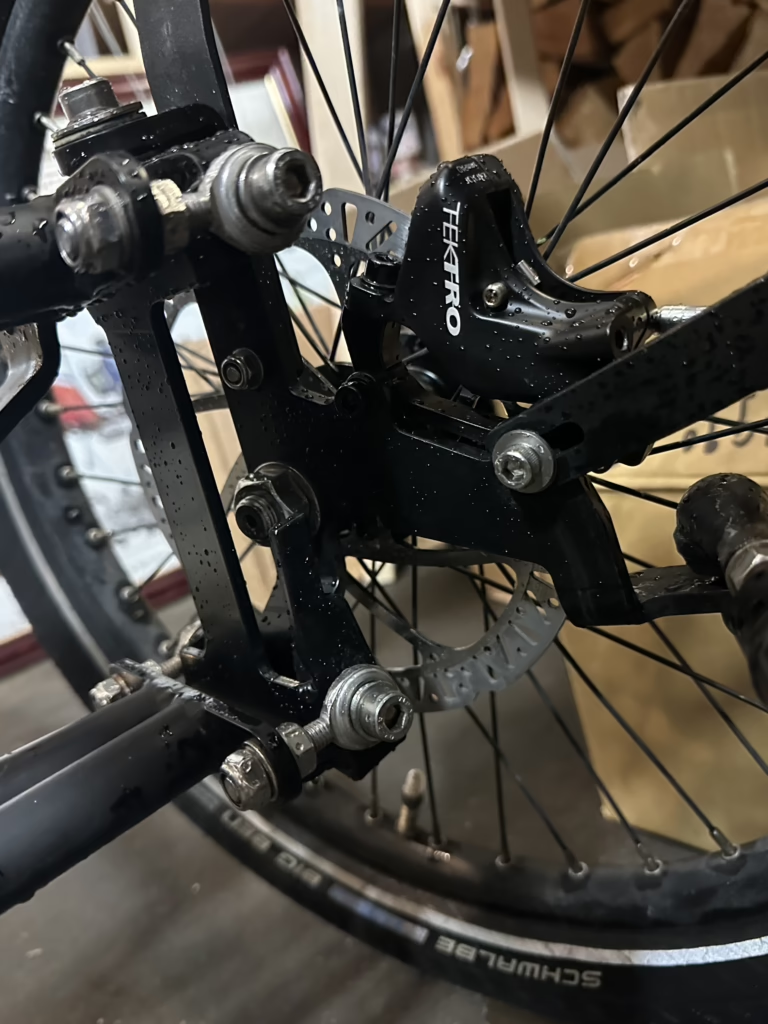
For the front brakes, I initially planned to use a pair of Magura MT5s that I had lying around. However, I quickly realized that a mirrored caliper is required for the left side of the bike. After some research, I found that the Tektro Auriga Twin Plus is the most powerful brake available with mirrored calipers, designed for three-wheel cargo bikes. The calipers appear to be the same as those used in other Tektro/TRP cargo brakes for 2.3mm discs.
Building the wheel and mounting the brake was a walk in the park, leading me to the Bosch Ebike System 2. I didn’t know anything about it and i kept finding contradicting information everywhere i looked.
Starting with what i could find about the bosch ebike system 2:
- 36V for the high power part
- 12V for the display
- 6V or 12V for the lights
- Can bus for communication (comparative bus with two wires)
- Black box programming with a “container” and an “app”, none of those being available at all to the end customer og DIY’er
- The Bosch Drive Unit is the motor, controller, 12v DC-DC and the “master unit” containing all the programming for the bike (wheel size, top speed etc..)
I started by trying to get my hands on a drive unit. Bosch does not sell directly to end customers and is very cautious when supplying bike shops. They only provide replacement drive units (DUs) for bikes that already have a Bosch system, rather than selling standalone motors. Since my bike was missing a motor, I needed to find a solution. At first, I found a used drive unit with low mileage, but it was a 32 km/h U.S. version—illegal in Europe. Hoping to adjust the top speed to 25 km/h, I gained access to Bosch’s OEM software. However, after extensive testing, I concluded that modifying the speed limit wasn’t possible without engaging in complex and time-consuming reverse engineering. Eventually, I reached out to BnB, and they helped me acquire the correct drive unit to make my bike legal.
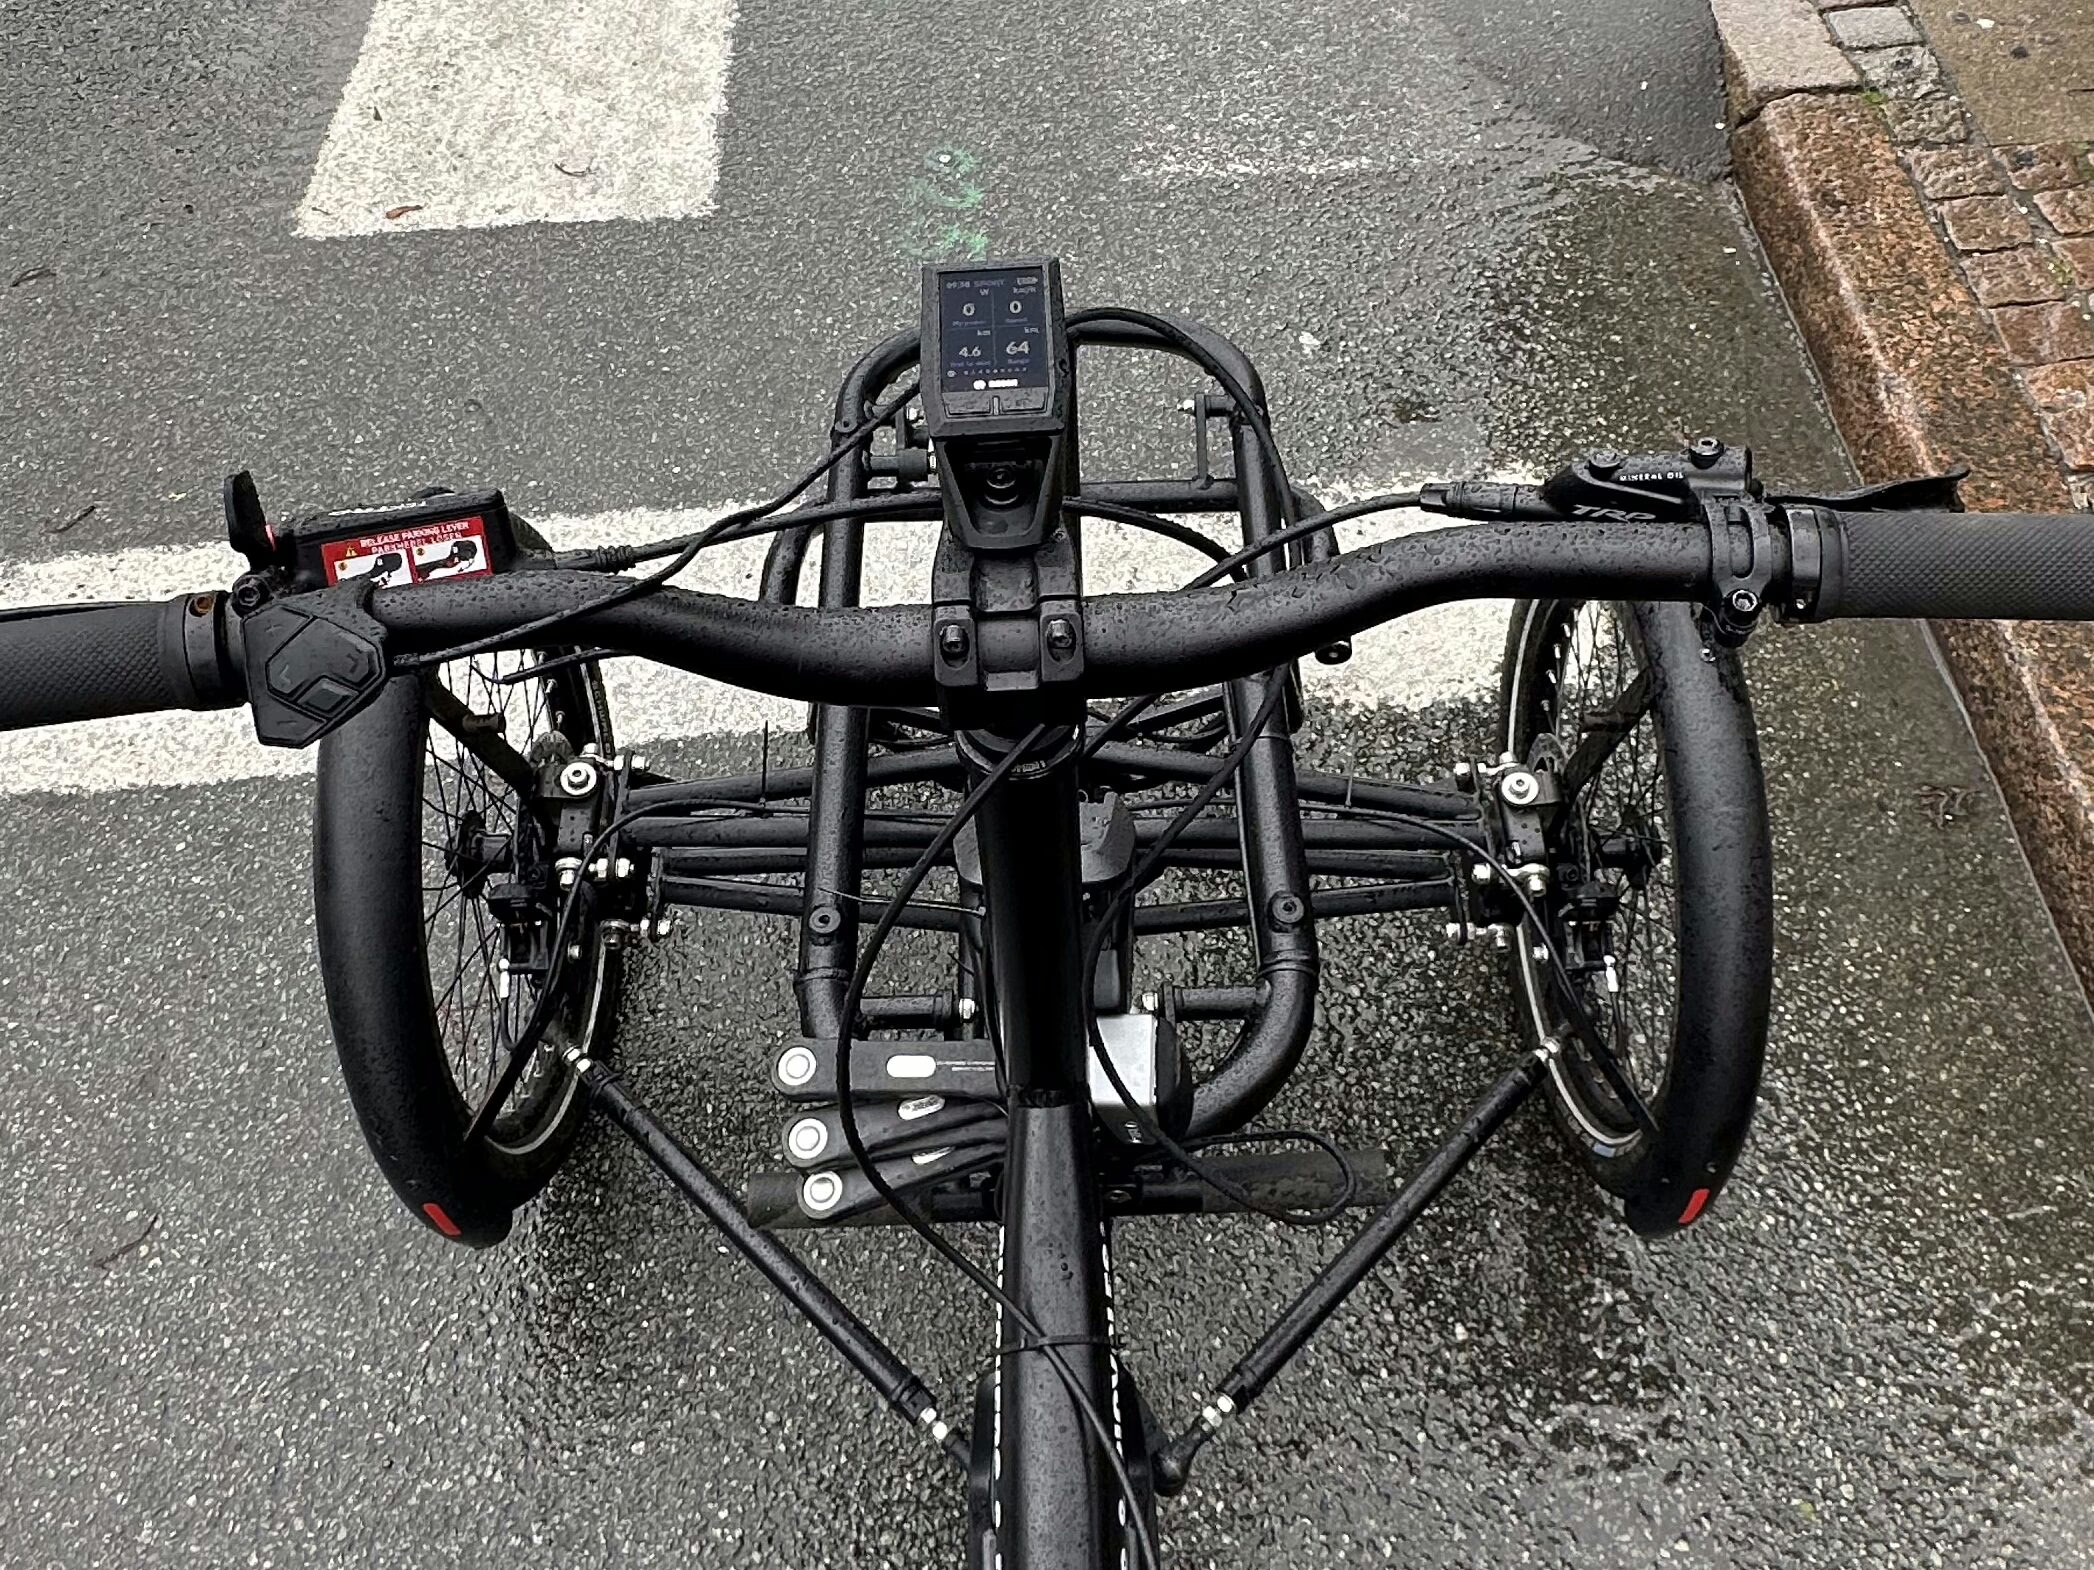
Now, moving on to the other components of the Bosch eBike system—the simpler parts like lights, the speed sensor, and the display are easy to find and install, with plenty of documentation available. However, uncertainty arose when I started working on the dual-battery setup.
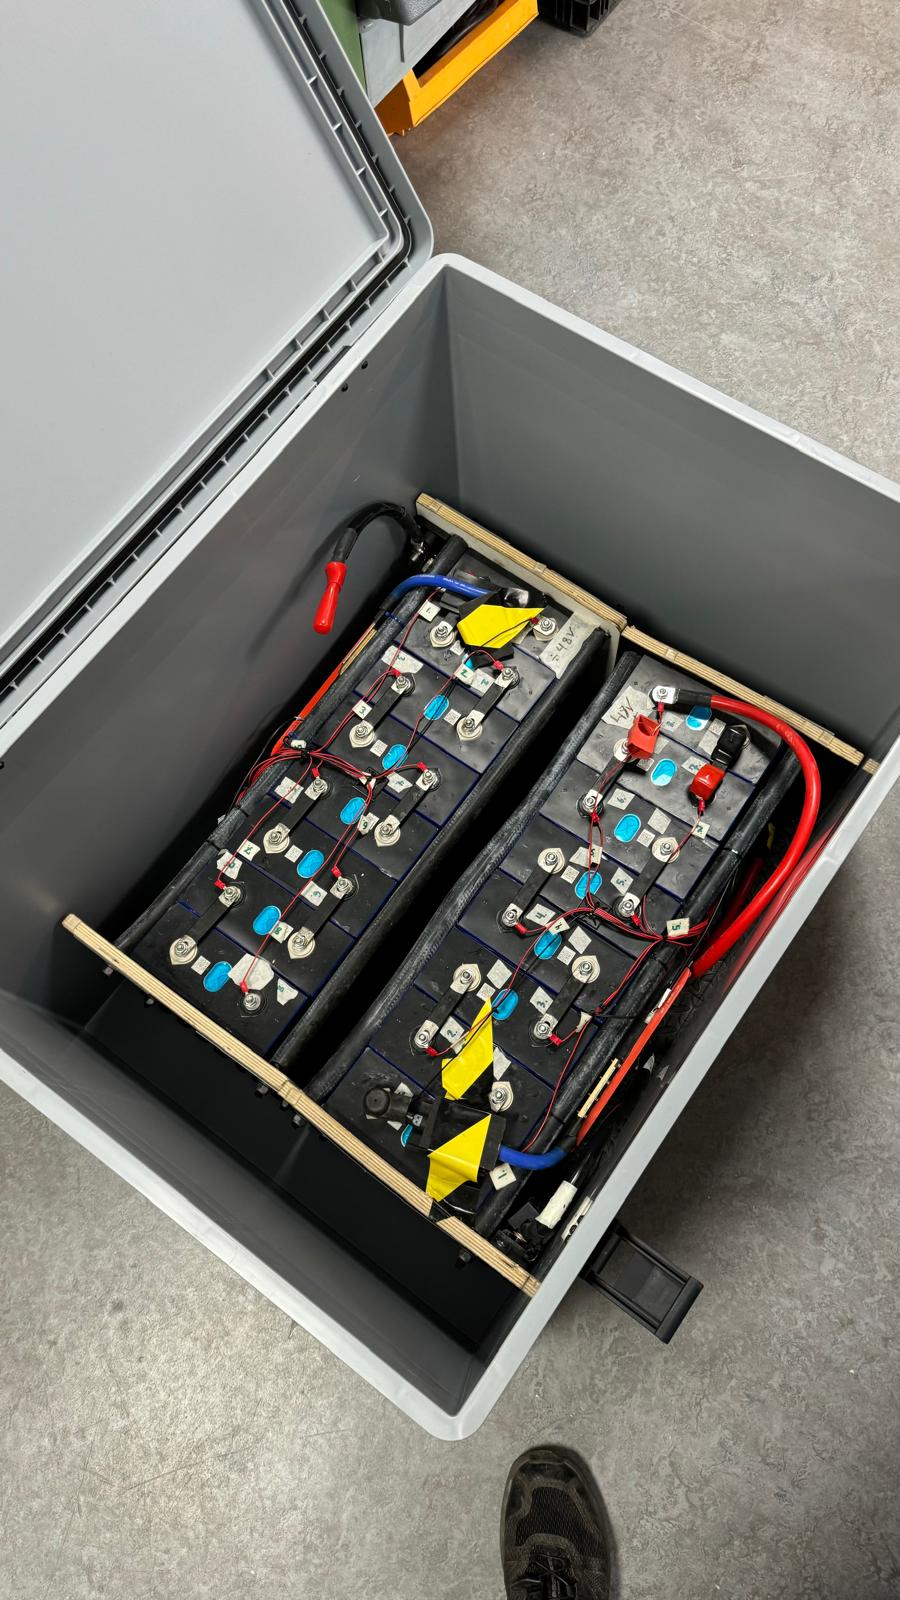
I knew Bosch officially supports dual-battery configurations, but given my experience with motor programming, I assumed it would require a special chip or additional programming to function. To my surprise, it turned out to be much simpler than expected. You only need to wire the 36V, CANH, and CANL lines in parallel and connect them to the motor the same way as a single battery. Once the extra battery is connected, the system automatically detects its BMS, and it appears on the display. I was pleasantly surprised by the seamless integration and compatibility of Bosch’s BES2 system. Any BES2 component or battery is compatible with every Bosch BES2 drive unit from 2014 to 2019. The biggest hurdle when researching the drive units, however, is the naming…
In the following table, I will explain Bosch’s “generations,” model years, and motor lines, along with their “shapes.” Motors with identical shapes are interchangeable. The confusion when researching Bosch motors comes from the fact that, originally, all the different models shared the same shape and many components. However, Bosch later introduced a new platform for the Active/Active Plus and Performance lines, which is completely different from the CX/Cargo/Speed motors. This change has led to a lot of confusion regarding naming conventions.
| Active line | Active line plus | Performance line | Performance line CX | Cargo line | Performance line Speed (45km/h) | |
| Gen 1 | NA | NA | NA | NA | NA | NA |
| Gen 2 | BDU250C / BDU255C, 2014, 48 Nm, “shape 1” | NA | BDU250P, 2014, 50/60 Nm, “shape 1” | BDU250P CX, 2014, 75 Nm, “shape 1” | NA | BDU290P, 2014, 50/60 Nm, “shape 1” |
| Gen 3 | BDU310, 2018, 40 Nm, “shape 2” | BDU350, 2018, 50 Nm, “shape 2” | BDU365P, 2019, 65 Nm, “shape 2” | NA | NA | NA |
| Gen 4 | NA | NA | NA | BDU450P CX, 2020, 75 -> 85Nm after update, “shape 3” | BDU450P CX, 2020, 75 -> 85Nm after update, “shape 3” | BDU490P, 2020, 75 -> 85Nm after update, “shape 3” |
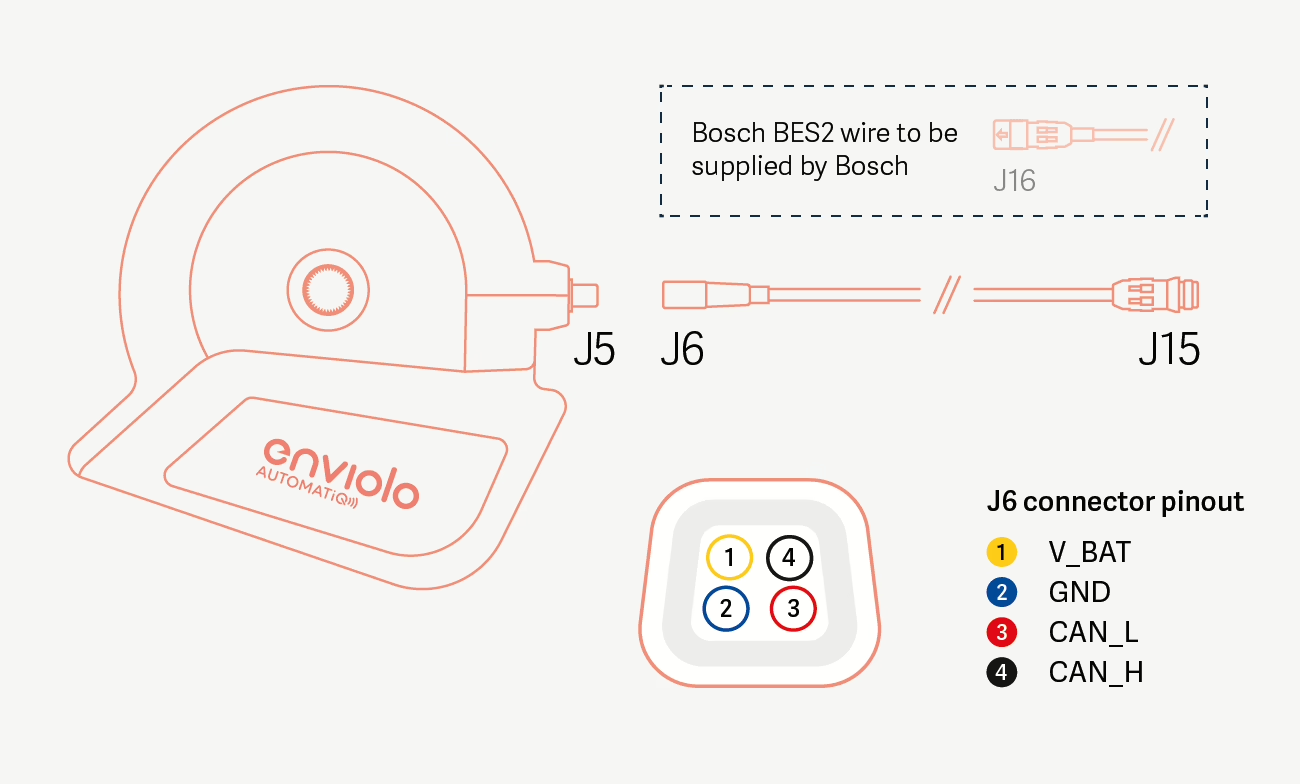
Now that I had a fully functional Bosch BES2 platform, I needed to integrate the Enviolo Automatiq. Enviolo easily wins the award for the best end-user documentation by far. I had two options: I could wire it into the Bosch system to adjust pedaling cadence directly from the Bosch display, or I could simply connect it to a power source and adjust the cadence through the Enviolo app. Wanting full integration, I chose to wire it into the CAN bus. This was, once again, just a matter of connecting power and CAN lines in parallel with the batteries and motor. The final step was reaching out to Enviolo to configure the interface for my bike’s sprockets and wheel size.
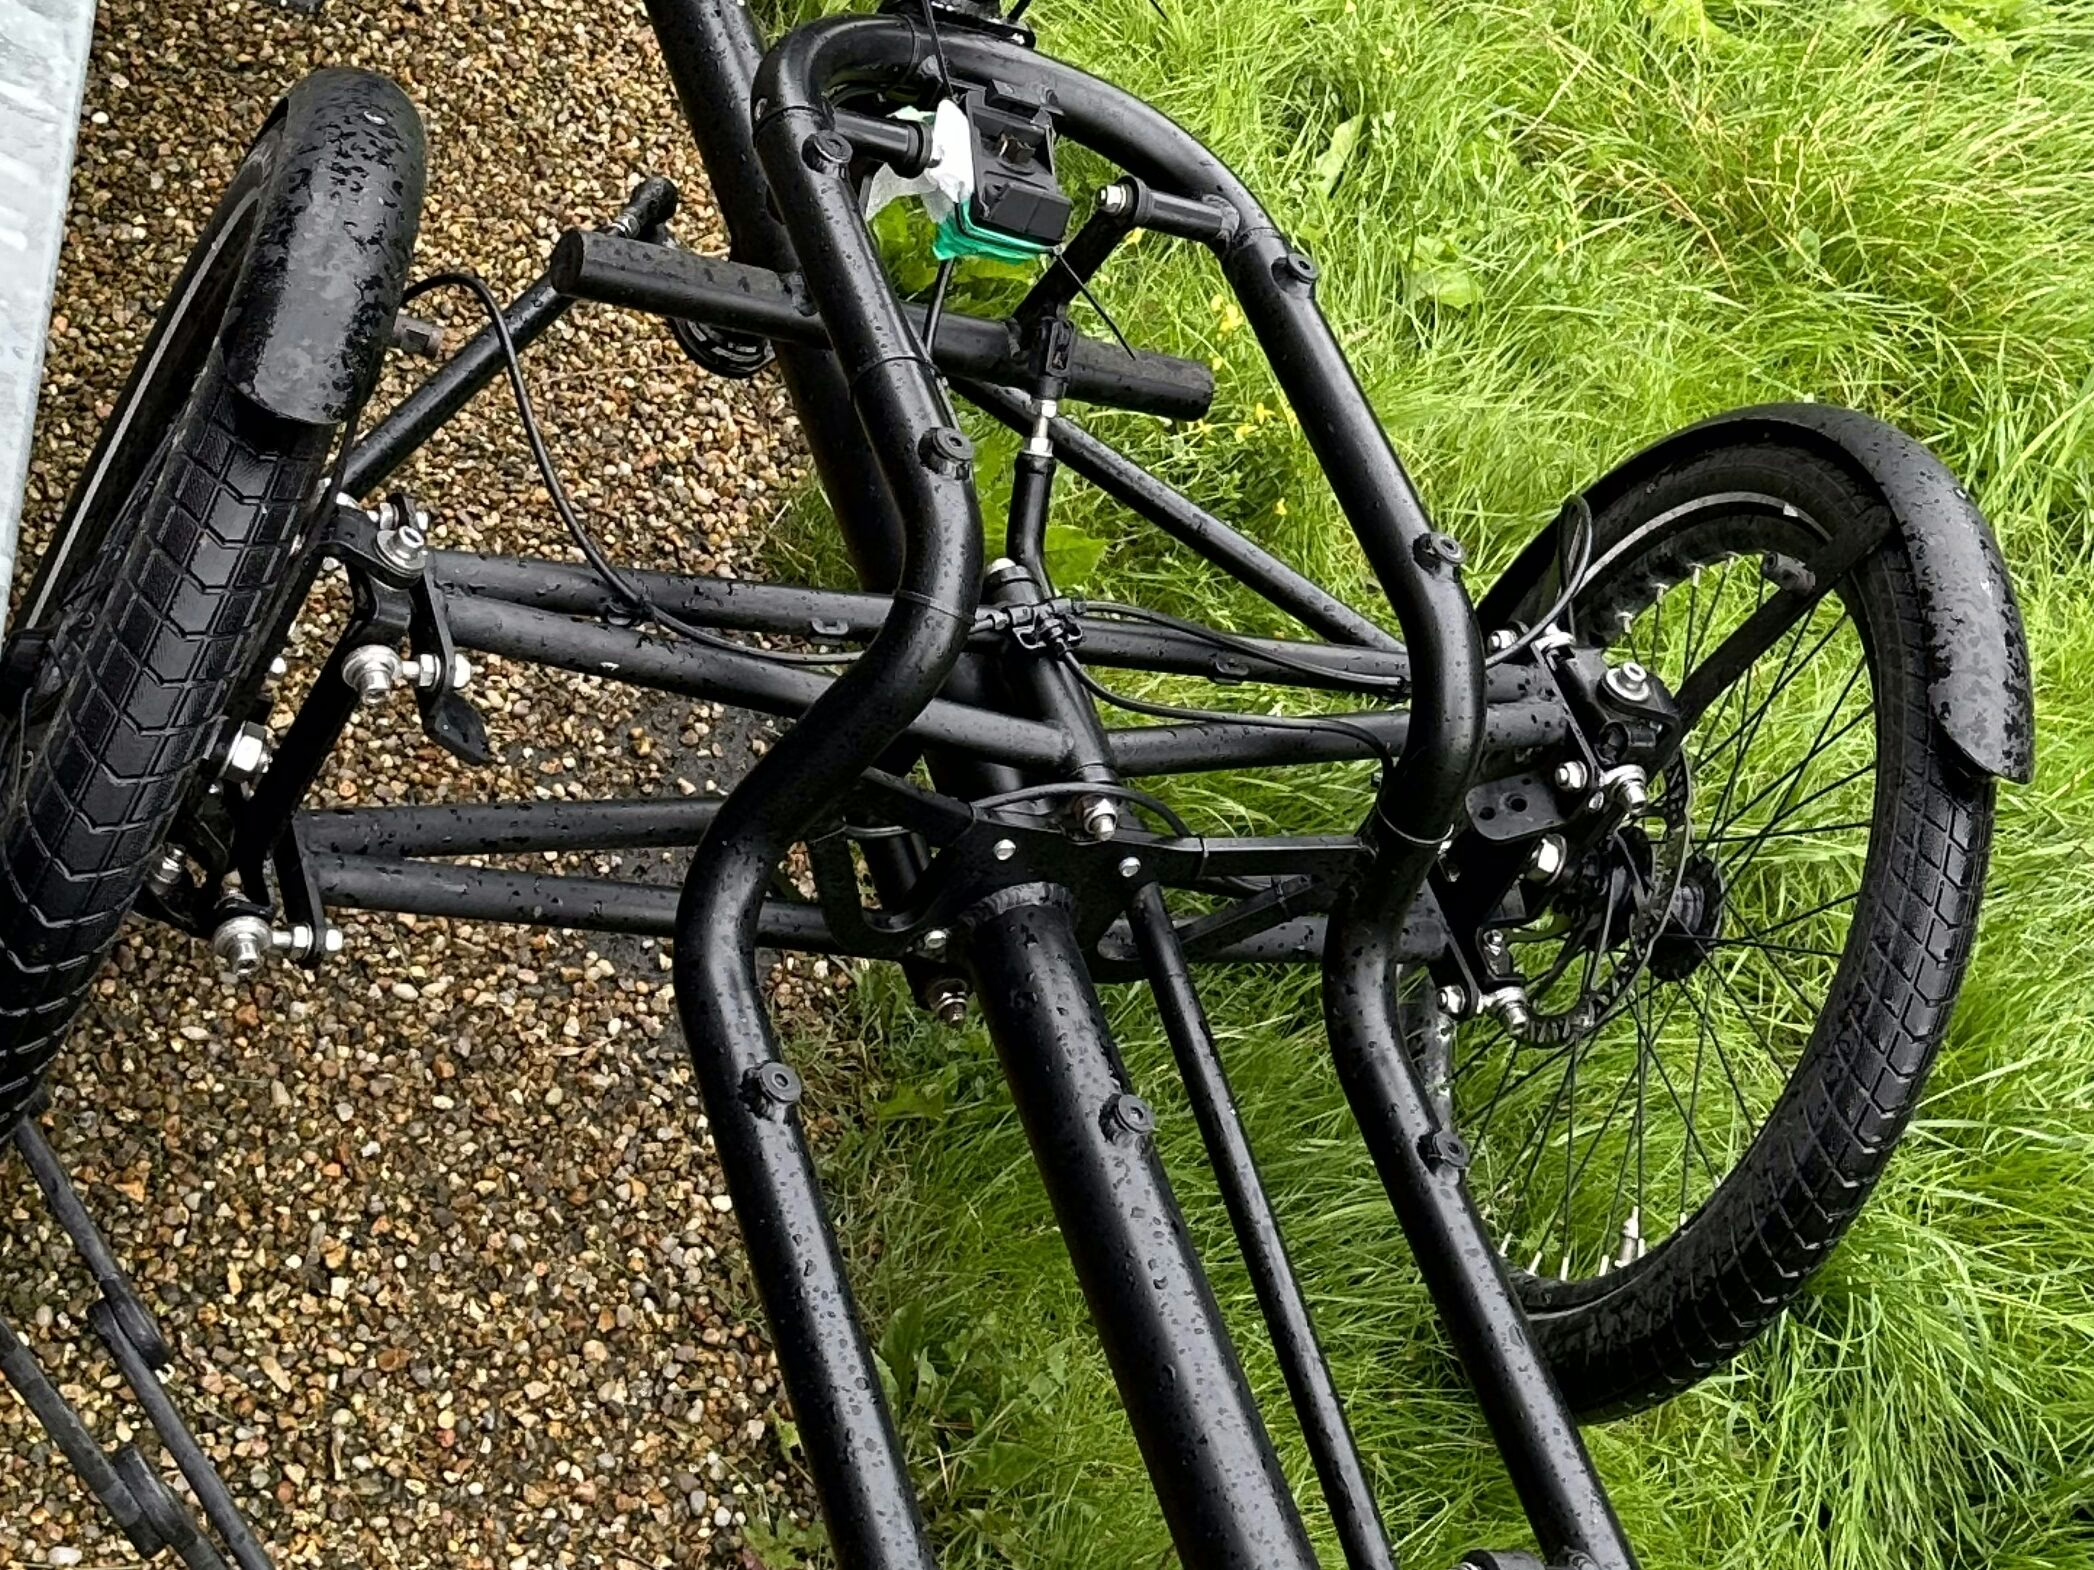
The linkage. The linkage is a simple yet highly adjustable design. It consists of ball joints, two springs, and some bushings. To measure camber and toe-in/toe-out, I compared the distances between the tires—top vs. bottom for camber and front vs. back for toe. Adjustments were made by moving the ball joints back and forth using their threads bolts. This linkage is brilliant because it allows a three-wheel cargo bike to handle properly in turns.
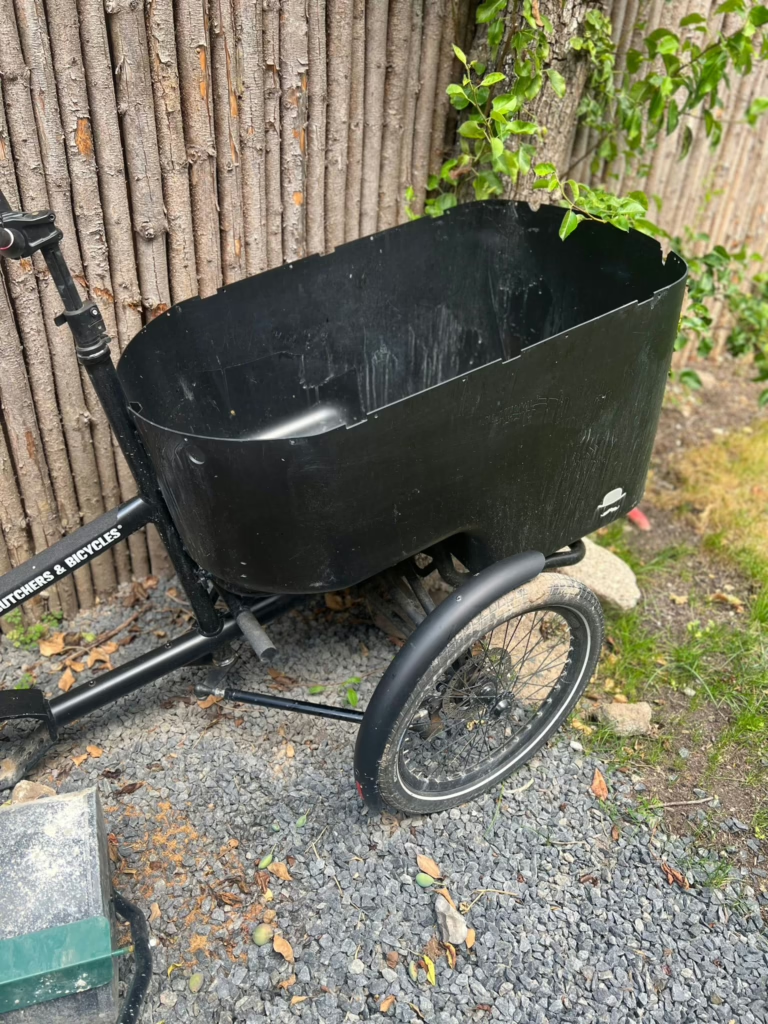
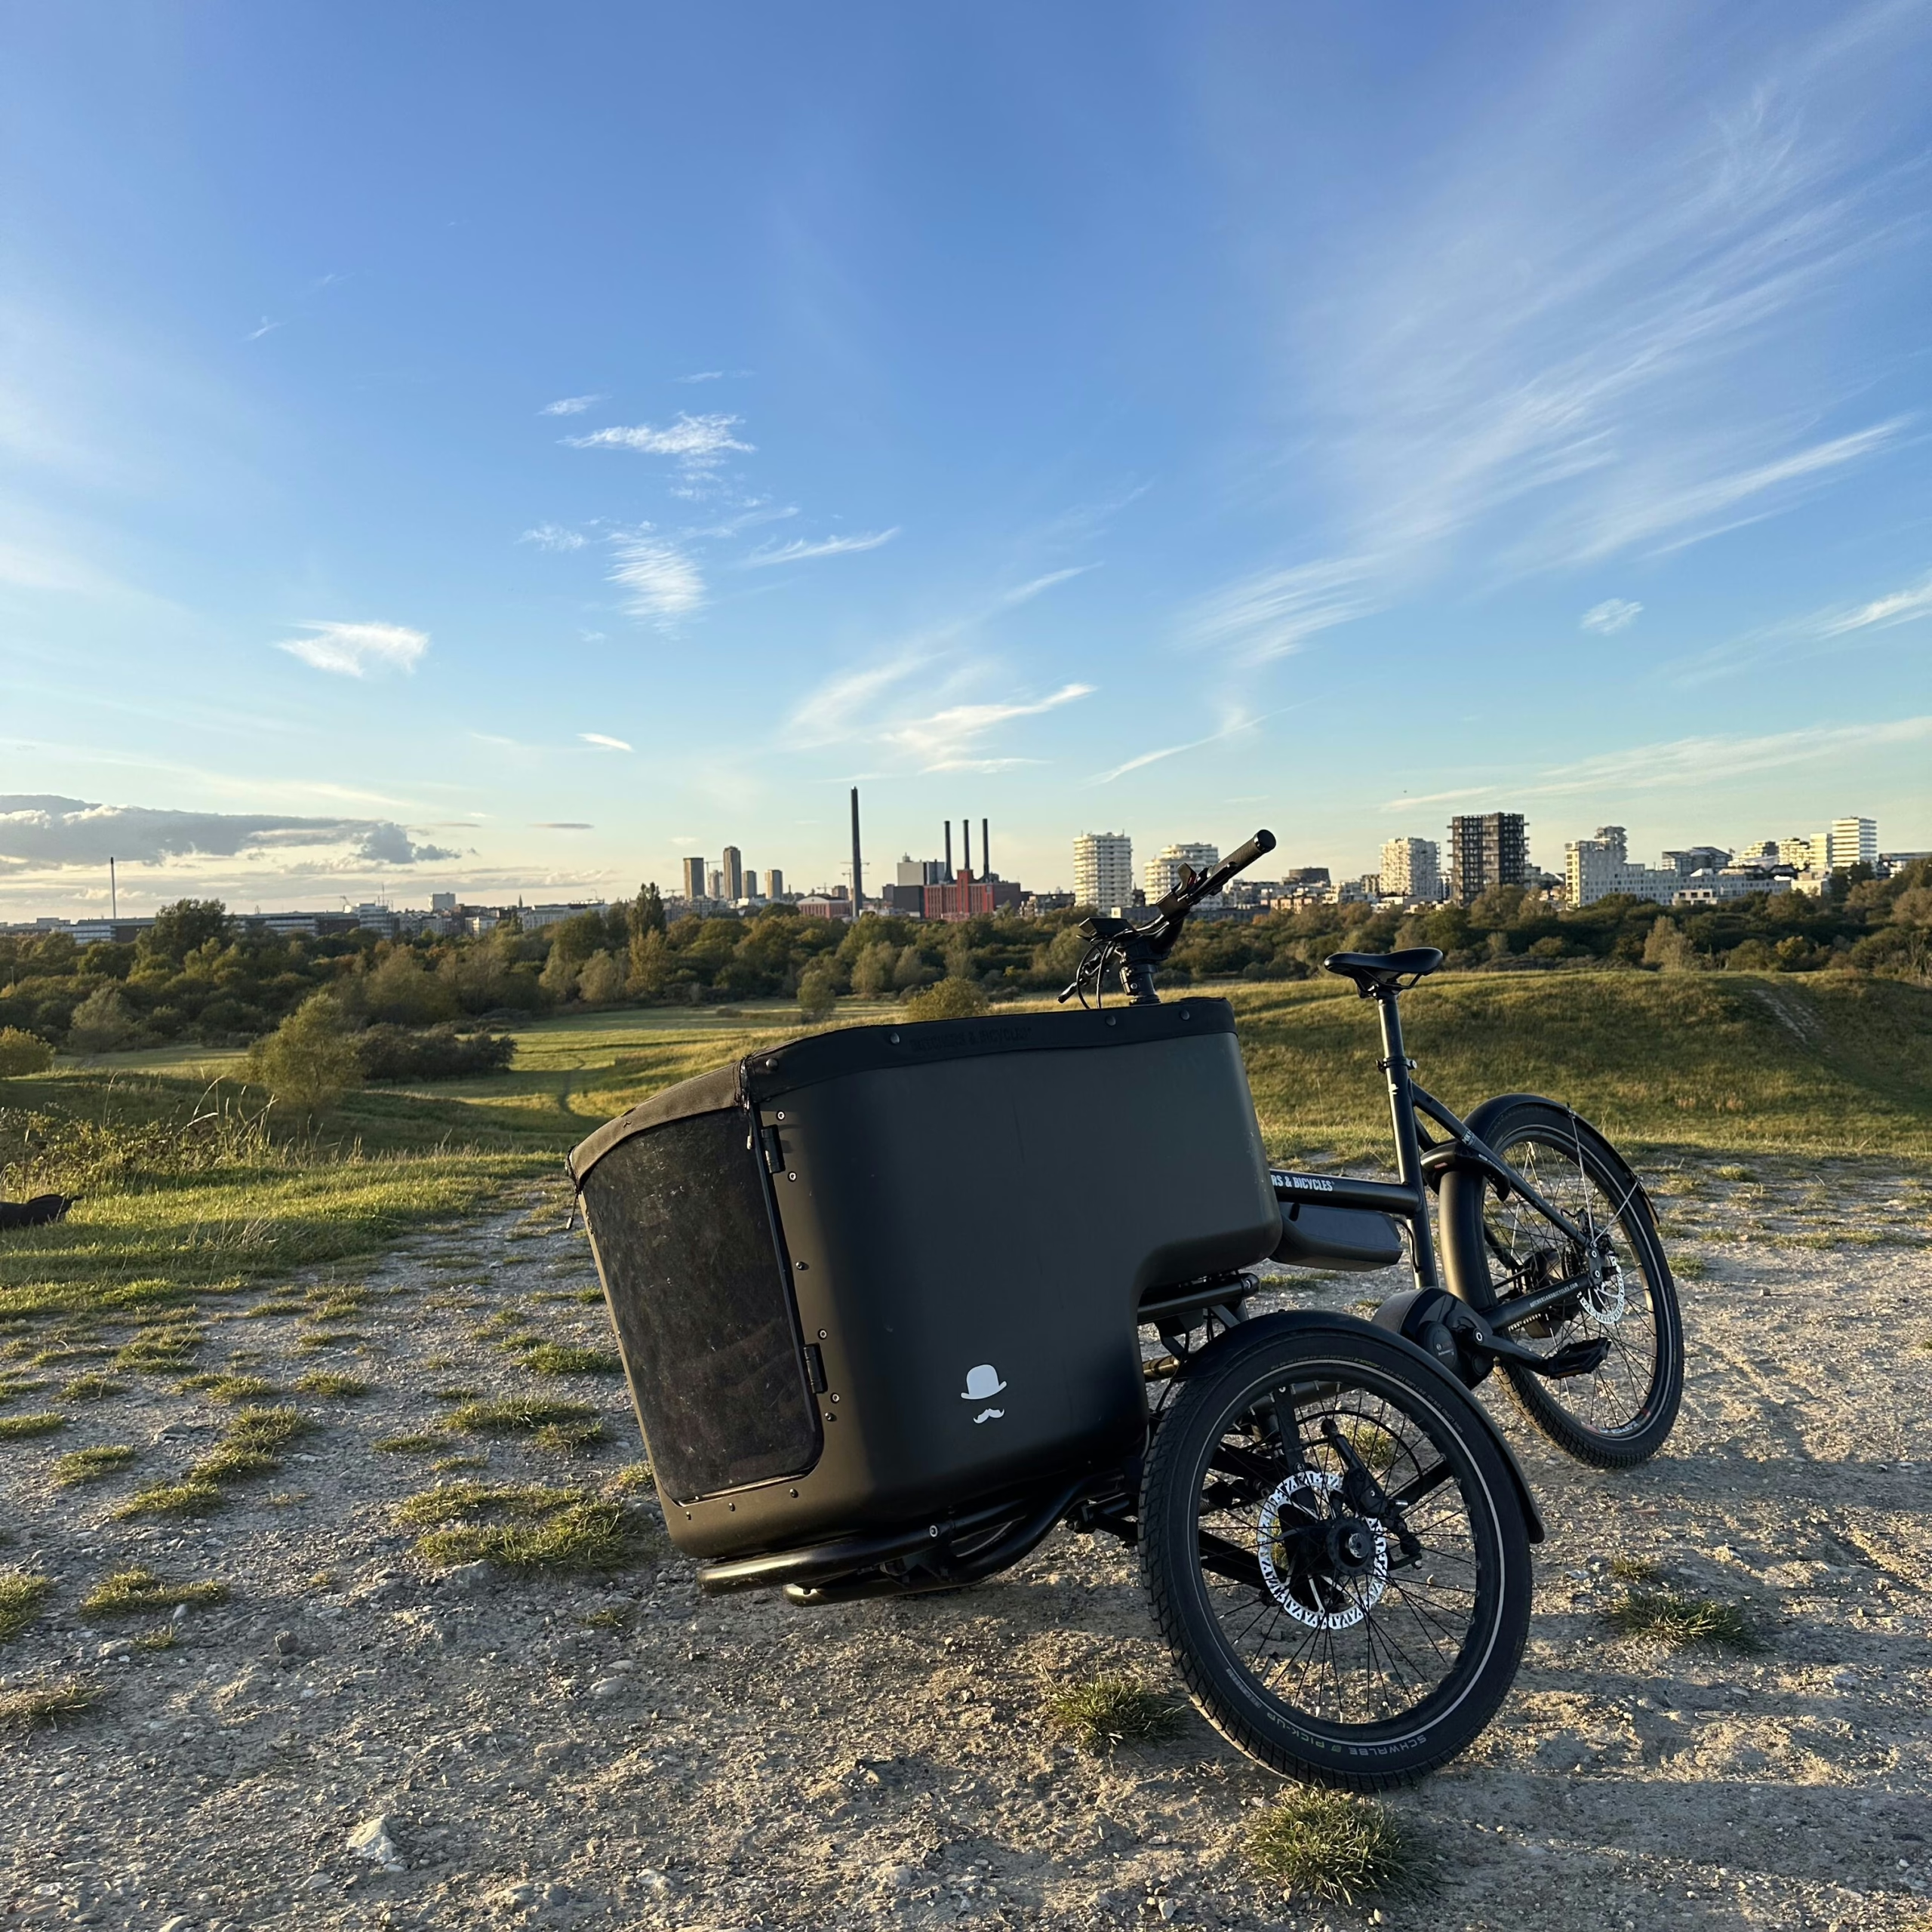
Now, I finally had a fully functional frame, and I was extremely happy with the result. After all the research, adjustments, and wiring, everything came together perfectly. To complete the build, I purchased a cargo box directly from BnB and mounted it onto the frame. Seeing the finished bike felt incredibly rewarding. The Bosch BES2 system, dual-battery setup, and Enviolo Automatiq integration all worked seamlessly. The custom linkage provided excellent handling, making the three-wheel cargo bike feel stable and responsive in turns. Taking it out for the first ride was an exciting moment. The smooth power delivery, automatic shifting, and well-balanced handling made all the effort worthwhile. It was exactly what I had envisioned—a high-performance, reliable cargo bike built to my specifications.
Leave a Reply